I have a few DM1001-DEV boards and I have successfully setup the software application toolchain for DWM1001 mentioned in the DWM1001 Firmware User Guide.
I have also managed to successfully run the dwm-simple project example that uses the DWM1001 on-board package using the Segger Embedded Studio IDE. i.e. I can get the example projects to run.
I want to know the procedure/steps for - Creating a completely new project (custom user application) that uses the DWM1001 on-board package ( DWM1001 PANS library) for the DWM1001-Dev board with the Segger Embedded Studio.
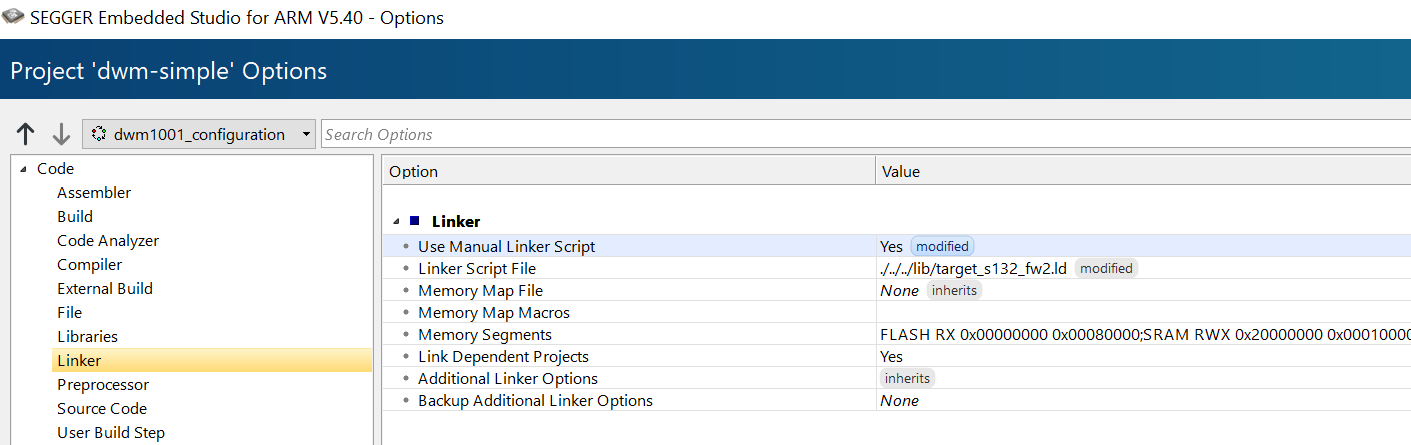
After reading through the Firmware User Guide, I still don’t know which header files I need to include or even how to include/import specific files into a new Segger project. I also want to know how setup the linker scripts, static libraries and output file directory for a completely new project.